How to mount self-adhesive vinyl graphics and prints to boards and panels
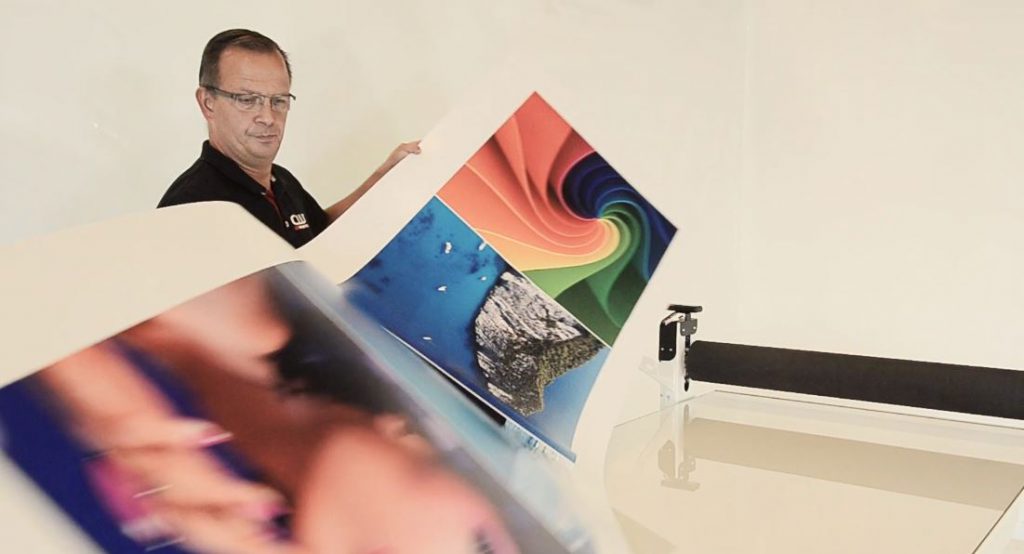
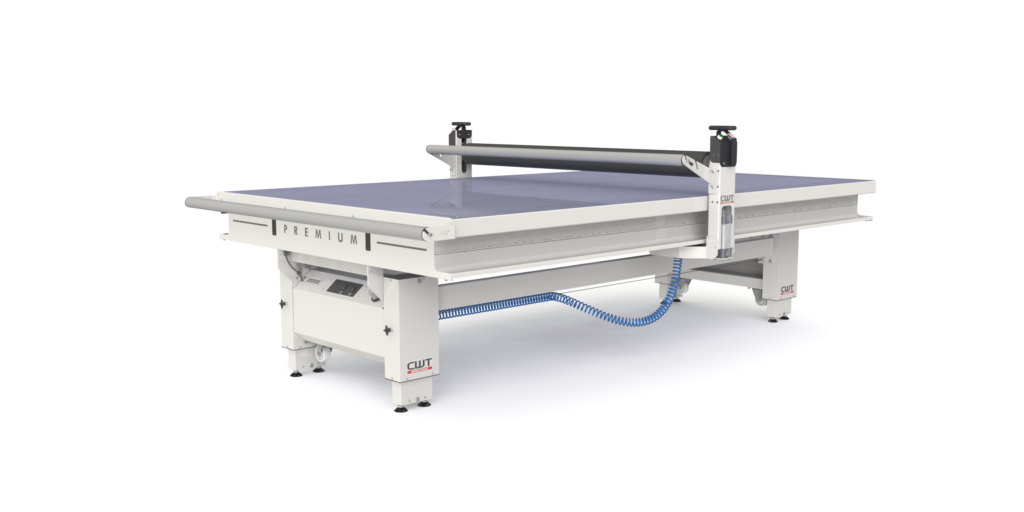
Mounting self-adhesive vinyl and prints onto boards and panels is a crucial step in creating high-quality displays and signage. The CWT flatbed applicator is a powerful tool that simplifies this process, ensuring accuracy and efficiency. This guide provides a detailed step-by-step approach to mounting vinyl and prints using techniques by CWT Worktools.

Why use a flatbed applicator?
A flatbed applicator ensures smooth and precise application of self-adhesive materials. It allows for even pressure distribution and alignment, reducing the risk of wrinkles and bubbles. Using a flatbed applicator is ideal for projects involving various thicknesses and types of substrates.
Benefits of the CWT flatbed applicator
- Single operator efficiency: Enables one person to mount vinyl and prints efficiently, reducing labor costs and increasing productivity.
- Precision and accuracy: Ensures smooth application without wrinkles or bubbles.
- Versatility: Suitable for various substrates, including thick, rigid, or soft materials.
- Ease of use: Features an intuitive design that simplifies the mounting process.
What you’ll need
- CWT flatbed applicator
- Self-adhesive vinyl or prints
- Boards or panels (the substrate)
- Polystyrene or similar material (for support, if needed, when mounting on a cassette panel)
Step-by-step guide
Mount graphics to a cassette
Step 1: Set up your work area
- Clear the space: Ensure the CWT flatbed applicator is on a clean, flat surface. Remove any obstacles around the work area.
- Prepare your materials: Have your self-adhesive vinyl, prints, and substrate ready.
Step 2: Position the substrate
- Center thicker materials: For thicker materials that rise from the glass bed, center the substrate on the worktable. If placed on one side, counterbalance it by placing material of the same thickness on the opposite side. This ensures the roller hits evenly when lowered and pressurized.
- Support hollow objects: For hollow or box-shaped subjects, such as road signs or cassette panels, place a support piece of polystyrene or a custom-made jig inside to resist roller pressure. Ensure the object is centered on the tabletop or balanced on both sides.
Step 3: Apply the vinyl or print
- Place the media: Position the self-adhesive vinyl or print on the substrate exactly where you want it to be applied.
- Lock the position: Lower the roller about 30 cm (1 ft) from one end of the substrate by pressing down the roller. This locks the media in place.
- Remove the backing: Flip the short end of the media over the roller and remove the release liner or backing paper. Cut off or fold the backing paper, leaving about 15 cm (5-6 in) against the roller. If cut, fold the backing paper downward to form a straight fold to prevent dust from sticking to the glue.
Step 4: Mount the media
- Start applying: Bring the roller over the substrate to apply the media in the correct position. For thicker substrates, place a piece of similar thickness against the end to prevent the roller from falling off the edge. Keep the media straight over the roller as you go. Normally, this is not a concern as the media will pass smoothly over the non-stick roller.
- Continue application: Lift the roller where the backing paper is cut off.
- Turn the remaining part of the media over the roller.
- Grab the folded backing paper, pull it upwards over the roller, and hold it while moving the roller over the remaining part of the substrate. Ensure the media is centered and straight over the roller and let the backing paper release just on top of the roller.
Conclusion
Mounting self-adhesive vinyl and prints onto boards and panels is made easy with the CWT flatbed applicator. Regardless of the size of the job, it’s always a one-person operation. By following these steps, you can achieve professional results with minimal effort. This method ensures accurate and efficient application, enhancing the quality of your displays and signage.

