How to use the CWT flatbed applicator for pre-masking with application tape
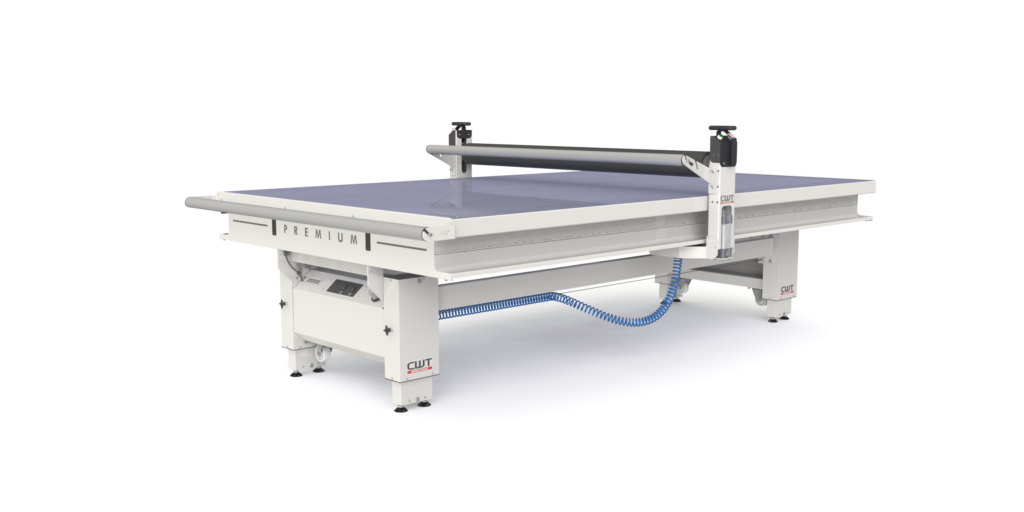
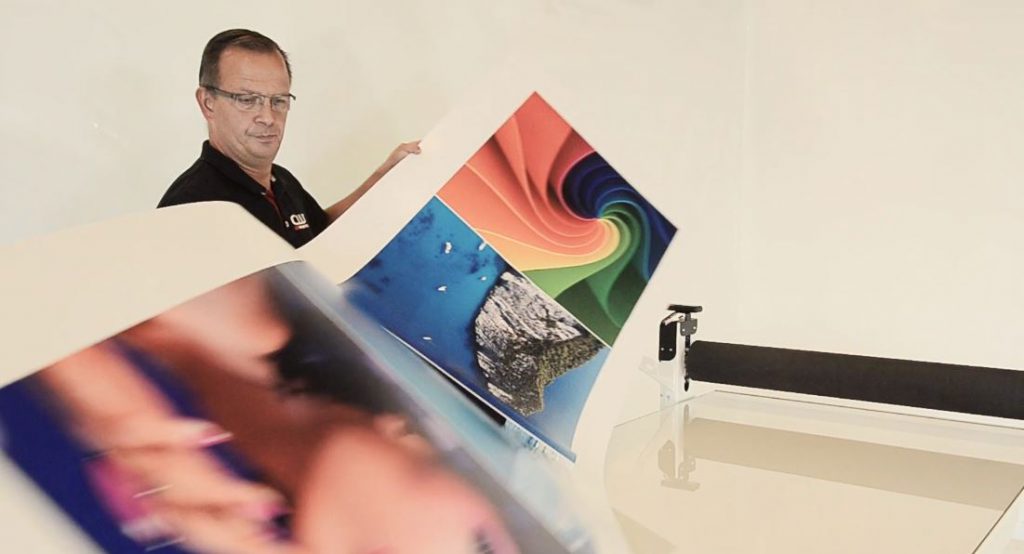
In sign-making and graphics production, applying application tape, also known as transfer tape or pre-mask, is crucial for transferring cut vinyl graphics accurately. The CWT flatbed applicator is an innovative tool that simplifies this process, allowing one person to complete the task efficiently and precisely. This guide explains how to use the CWT flatbed applicator effectively for pre-masking with application tape, highlighting its benefits and providing step-by-step instructions.

Why use application tape?
Application tape is essential for transferring cut vinyl graphics and digital prints without damage. It holds the cut vinyl in place, ensuring accurate placement on the target surface. There are different types of application tape, such as clear and paper application tape, suitable for various applications, including indoor and outdoor use.
Benefits of the CWT flatbed applicator
- Single operator efficiency: Allows one person to pre-mask with application tape quickly, reducing labor costs and increasing productivity.
- Precision and accuracy: Ensures smooth pre-masking without wrinkles or bubbles.
- Versatility: Works with a wide range of transfer tapes, suitable for cut vinyl and digital prints.
- Ease of use: Features an intuitive design with an application tape holder on the glide beam, making the process straightforward. The media roll holder accommodates different roll widths.
What you’ll need
- CWT flatbed applicator
- Application tape (clear or paper, depending on your project)
- Cut vinyl graphics or Digital prints
Step-by-Step Guide
Step 1: Set up your work area
- Clear the space: Ensure the CWT Flatbed Applicator is on a clean, flat surface. Remove any obstacles around the work area.
- Prepare your materials: Have your cut vinyl graphics and application tape ready.
Step 2: Load the cut vinyl graphics
- Place vinyl on the worktable: Lay your cut vinyl graphics flat on the work area of the CWT Flatbed Applicator.
- Smooth out the vinyl: If necessary, smooth out the vinyl and ensure it is lying flat on the worktable.
Step 3: Load the application tape
- Attach tape to media roll holder: Place the roll of application tape on the media roll holder, located on the glide beam of the applicator.
- Position the tape roll: Place the roll of application tape on the media roll holder with the glued side facing away from the roller. Ensure the roll is centered relative to the roller.
Step 4: Prepare the tape for application
- Pull the tape: Grab and pull the application tape, bringing it under the roller with the glued side facing downwards.
- Straighten the tape: Tighten and straighten the application tape to ensure there are no wrinkles. It should be tight against the roller and lined up with the edges of the application tape roll to ensure a perfectly straight application.
Step 5: Use the flatbed applicator to mount the application tape
- Position the roller: Lower the roller 5-10 cm (2-3 in.) from the vinyl graphics as a starting point. Allow the application tape to stick to the table by pressing down the roller, then move the glide beam slightly toward the graphics and lift the roller.
- Apply the application tape: Push the glide beam towards the vinyl graphics with the roller in the upper position. When the roller is over the graphic, press down the roller. The applicator will press the application tape onto the vinyl, flattening the material and removing wrinkles. Pull the roller across the entire surface of the cut vinyl graphics slowly and steadily while applying the tape.
Step 6: Finish and trim
- Lift the roller: Bring the roller back to the upper position once the application tape is applied and cut the application tape with a sharp cutter such as CWT Long reach cutter.
- Trim excess tape: Use a cutting tool to trim any extra application tape from the edges of your vinyl graphics.
Tips for success
- Ensure proper alignment: Check that the application tape is aligned correctly before lowering the roller.
- Make sure your graphics are lying flat on the table.
- Practice: Familiarize yourself with the equipment to improve efficiency and quality of application.
Industry best practices
Using flatbed applicators like the CWT Worktable is considered a best practice in sign-making. It helps sign businesses increase productivity while maintaining high-quality standards. With growing demands for quick turnaround times, investing in reliable equipment like the CWT Flatbed Applicator is essential for delivering exceptional results.
Conclusion
The CWT Flatbed Applicator is a powerful tool that simplifies the pre-masking process, making it quick and easy for anyone to achieve professional results. By following these steps and leveraging the flatbed applicator’s features, you can ensure precise and efficient application of transfer tape for all your sign-making projects.

